Monday, August 16, 2010

Using Stop to Flush Foundation Teaching Backing and Pointing


This is actually 2 different outings that I am combining. The first outing we are doing what we call a backing drill. The second outing we are combining stop to flush with breaking the dogs/teaching them to be steady on point.

Using Stop to Flush with Backing

Our backing drill consists of:
So the way we set this up is that we put the backing dummy behind a bush so that the dog does not see it until it is 5-10 yards from it. The birds are set down wind from the backing dummy.

Here is how the backing drill is performed:
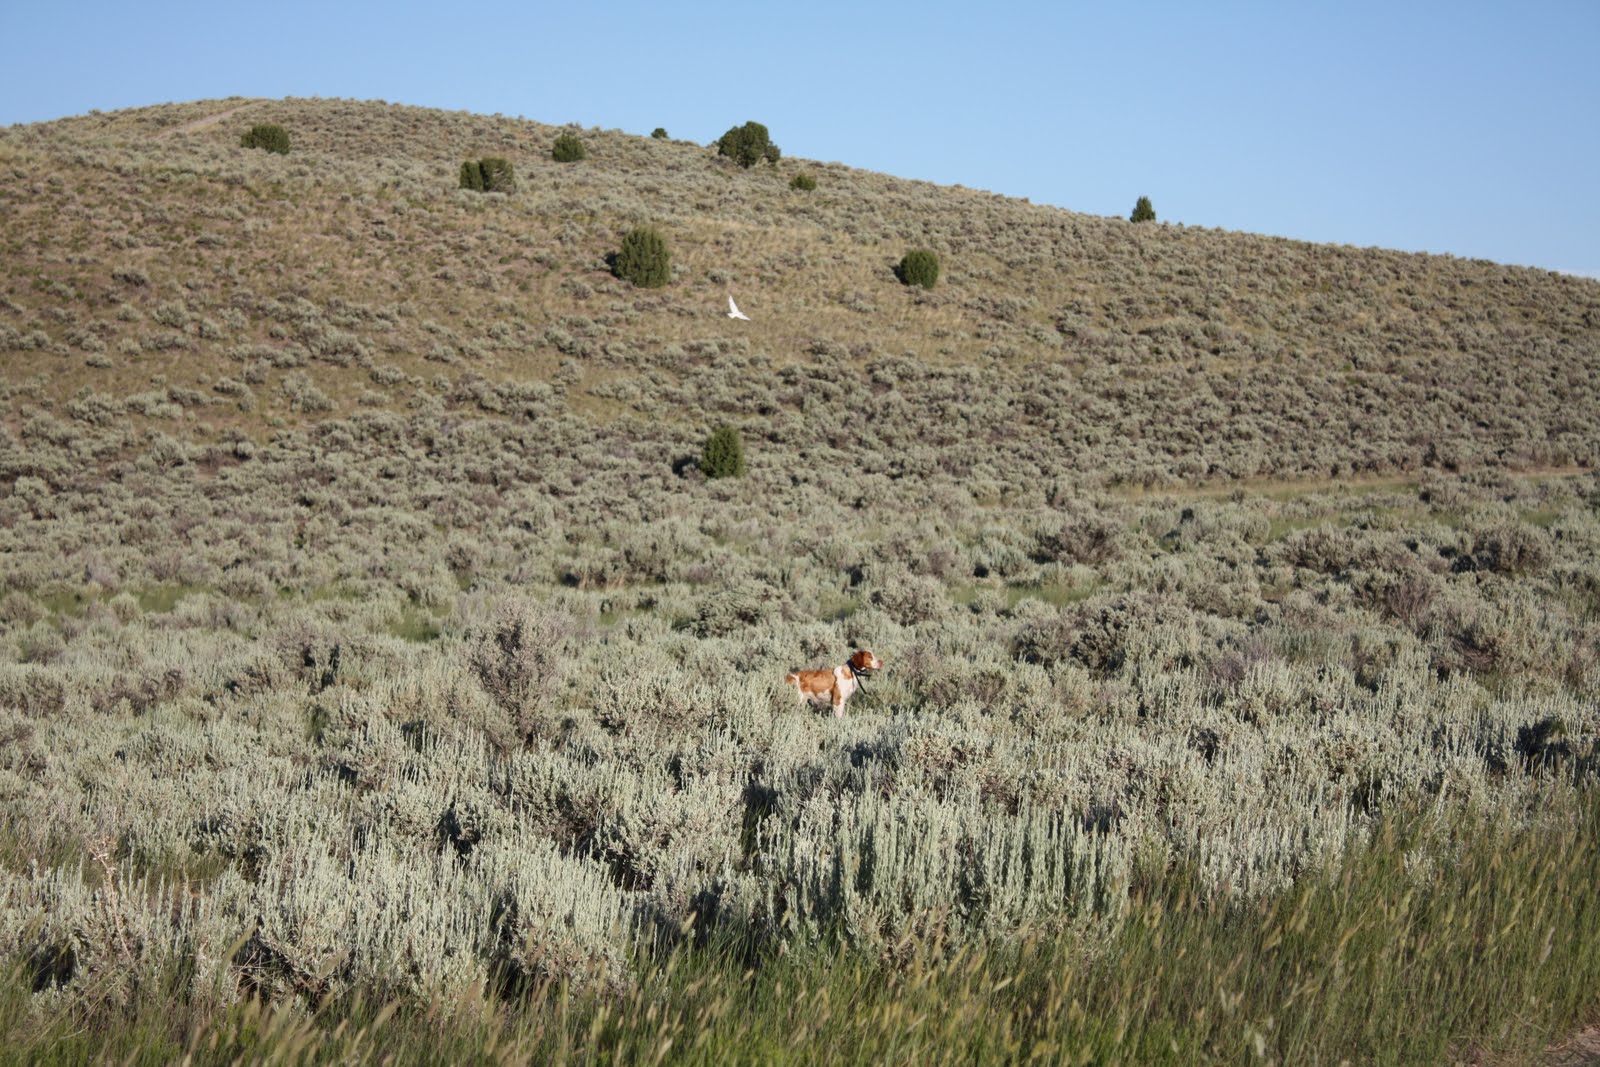
  • We walk the dog up the trail to the place where the backing dummy is set
  • The dog is taking in toward the dummy
  • As soon as the dog sees the dummy the bird is launched and released.
  • Note the dog should stop as soon as it sees the dummy or another dog on point. As in the past if the dog does not give correction and set back.
  • Since the dog is conditioned to stop when the bird is in the air it stops and waits for the command to go ahead
  • Note the importance of having the bird down wind so the dog does not scent the bird prior to seeing the backing dummy.
Why backing is beneficial:
  • Dogs are very competitive (most are)
  • Another dog stealing point/encroaching a bird can be too much for many dogs
  • Without this, results are often a bird that is bumped
  • To add salt to the wound when a bird gets bumped in the field there are often time multiple birds that are bumped due to the lack of steadiness of a dog.


Combining Stop To Flush with Breaking dogs/ Steady On Point

The Setup:
  • Anytime you are working dogs on birds wind direction is vital (see my beautiful artwork for illustration ;))
  • Set out 3-6 birds
  • Use launchers (Preferable) to set birds
  • The first 3 are set down wind for stop to flush
  • The second 3 setup wind and using the 90 degree rule. This will give you more advantage/tools in breaking the dog


Procedure:
  • Dogs are taken so that the the first 3 birds are up wind.
  • The bird is launched when the dog is close and one can ensure the dog sees the bird when it it is released
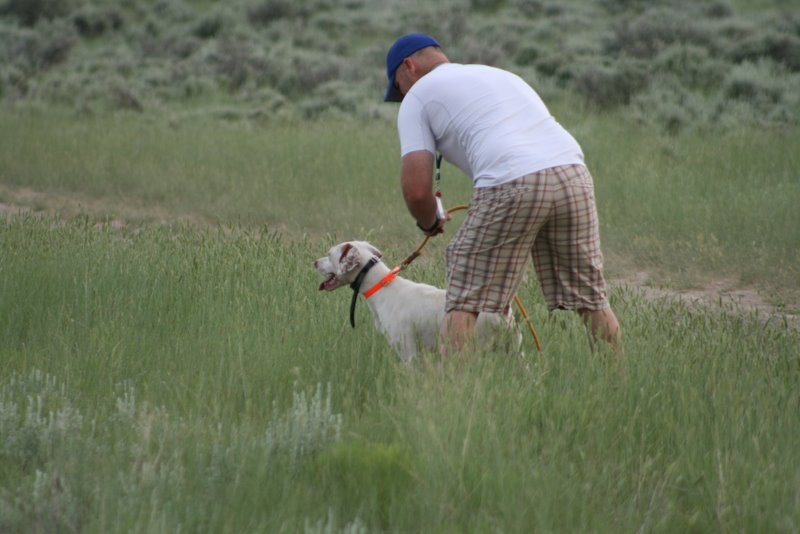
  • Dog will stop as soon as the dog is flushed (if it doesn't refer to the earlier posts for Stop to Flush procedures).
  • The second 3 set at a 90 degree angle to the approaching dog cause the dog to turn 90 as it enters the sent cone (this makes reading the dog easier).

THE GENIUS OF TEACHING STOP TO FLUSH AND THEN TEACHING STEADINESS ON POINT!


I am to going to give Josh McPherson and those that mentored him kudos on these training techniques. In our earlier posts you see the dogs are taught to stop as soon as a bird is flushed or seen in the air.
  • We ran the dogs on 3 stop to flush birds this day and then the 3 scented/pointed birds.
  • Already conditioned to stop to flush
  • 3 birds stop to flush as before bird in air dog stops and awaits the go ahead
  • 3 birds pointing/in the scent cone
Working the dogs on the scented birds:
  • Dogs establish point instinctively
  • As soon as the dog moves we blow/launch the bird
  • Dog stops (because it is conditioned to stop)
  • If the dog does take a few steps after the bird is in the air we give a correction and set it back.
In conclusion, the genius of teaching stop to flush provides for an easier process in breaking the dog, getting them steady to wing(flush) and Shot. Stop to flush takes away the chase and the dog quickly learn to be steady until they are told to move ahead. Please comment on this post and ask questions. Feedback is always good.


Monday, July 12, 2010

Stop to Flush Round 2

In my last post we talked about stop to flush and it's value. It really is in my opinion the very best foundation for breaking a dog. Here are some of benefits of this training tool.

Stop to Flush Benefits:
  • Dogs stop when a bird is in the air
  • Dogs hold point better because the chase is no longer an option
  • Steadying the dog to FLUSH, SHOT and Wing is much easier


These are a sequence of my Brittany on a stop to flush using a bird launcher. Note: how he just moves his head with the bird flying over and holds the position.


In this session we captured some amateur film showing:
  • Stop to flush with an assistant
  • The value of the position in relation to the dog when the bird is in the air as a tool in the teaching process
  • Adding whoa is an easy step

Monday, June 28, 2010

Professional Bird Dog, Gun Dog Trainer

Josh McPhearson recently turned pro will be featured in most if not all of the bird dog training post here. Josh Mentored under Sonny Mortensen. Sonny Mortensen, Bill Gibbons and Bill West pioneered the training methods that just plain work.

Josh will be providing information for me to post here related to bird dog training and breaking. Josh also breaks dogs for hunting and field trials. He has dogs that have placed in national trials and much experience breaking dogs at varied stages of life and training.


He can be reached at 801.372.5481

Stop to Flush, Valuable Pointing Dog Training


This being my first blog post here and really the first of real substance (IMHO). I spent a few hours with my good friend and pro trainer Josh McPhearson doing stop to flush with a variety of pointing dogs. We worked a Brittany, a German Short Hair, and a few Vizslas this day.

Anyone that has spent time breaking a pointing dog knows the value of creating a dog with more pointing instinct. Stop to flush is an invaluable tool in generating more point in your bird dog. With that background an explanation for those unfamiliar with stop to flush training: Stop to flush means that as soon as a dog sees a bird (particularly a game bird flying) it stops and awaits the command of the handler to move ahead.


Stop to Flush Benefits:
  • eliminates the chase delayed chase
  • Dogs broke to stop to flush do not chase and bump (flush) other birds in the area
  • The pointing instinct is greater because the chase is no longer part of the equation
  • Reinforces the whoa training
  • Dog's can be taught to whoa on command in any position


Teaching Stop to Flush with training partner:
  • Put the dog on a check cord and have a training partner follow with birds.
  • Training partner tosses a bird so that it flies in view of the dog
  • As soon as the dog begins the chase give a correction with the check cord (give it a little pull), stop the dog and set the dog back (note: just set the dog back does not have to be put back in the exact location of the infraction).
Teaching Stop to Flush using a bird launcher:
  • Set out at lest 2 launchers and more if they are available with a bird loaded (we will cover the value of a launcher in our next post).
  • Take the dog out on a check cord as explained above
  • Upon release of the bird get a correction on the dog and set the dog back as above (look for video to come)
Transition to e-collar:
  • Once the dog is performing with the check cord transition to the e-collar
  • perform the above steps and add the e-collar stimulation to the the correction with the check cord nick the dog (nick, nick, nick) until you have set it back
  • Now the dog will associate the electronic correction as a correction

Come back frequently for more tips and tricks. We will be covering many outdoor subjects. In the mean time get out and be good land steward (enjoy what the outdoors)